Home Lab NAS Build Part 1: Planning and Component Selection
Planning the Ultimate Home Lab NAS: A Journey of Self-Discovery (and Hardware)
So, you wanna build a home lab NAS, huh? Well, buckle up, friend, because this is gonna be a wild ride. I mean, think about it - we're living in a world where mass surveillance is a thing, and yet, we're still trying to figure out how to store our cat pictures securely. Priorities, am I right? Anyway, let's get started on this NAS-building adventure. In my limited experience, the planning phase is where the magic happens - or, you know, where you realize you've made a huge mistake and have to start over.
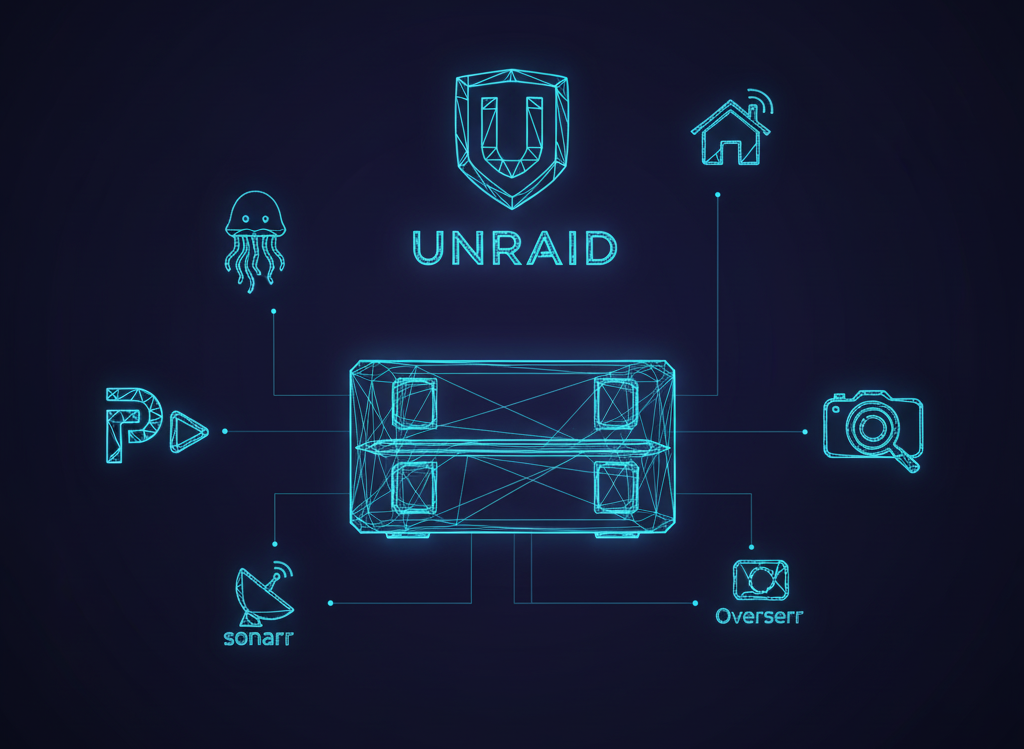
First things first, we need to assess our needs. What do we want from our NAS? Storage, compute, expandability - these are the big three. Do we need a bunch of drive bays for all our movies and TV shows (no judgment), or are we more interested in crunching numbers and running Docker containers? For me, it was all about having a compact, quiet system with plenty of storage options and headroom for future projects. As I have found, the world of UnRAID apps is expansive as all hell!
Choosing the Perfect Case: A Walnut Wonderland
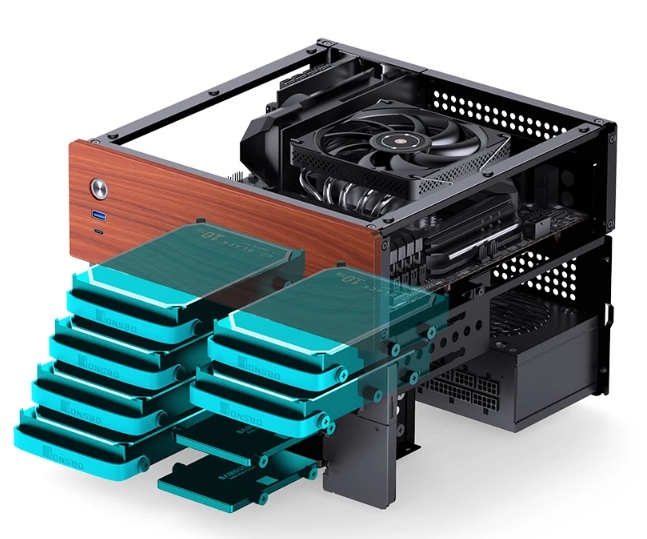
So, I started looking for the perfect case, and let me tell you, it was a journey. I stumbled upon the Jonsbo N4, and it was love at first sight. I mean, this thing is small, quiet, and has 8 drive bays with front access - it's like the Swiss Army knife of cases. While I haven't tried hot-swapping drives in and out, I've found getting into the rest of the case super easy and fast compared to my gaming rig. And since it's so small I can do it right on my desk, I don't need to get my folding table out and all that noise. And, let's be real, the walnut panel is just the icing on the cake. It's like having a little piece of mid-century modern flair in my home lab.
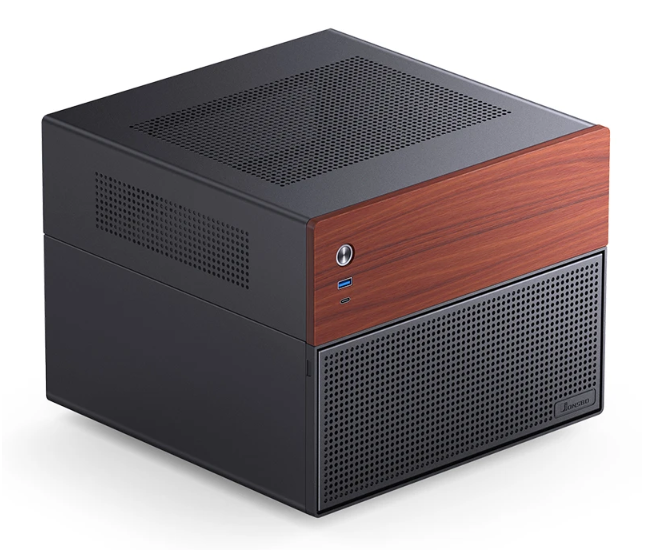
However, as with all things in life, there's a catch. The case fan that comes with the N4 is not PWM, and it runs at 100% speed all the time. I mean, it's like having a tiny, annoying lawn mower in your home lab. Not ideal. So, I replaced it with a Be Quiet! 140mm fan, and now it's silent as a ninja.
Motherboard Madness: Chipset, Expansion, and IO
Next up, we have the motherboard. Now, this is where things can get really complicated, really fast. I mean, have you seen the Intel chipset diagram? It's like trying to read a London Underground map while drunk. Not fun. Anyway, I chose the microATX Gigabyte B550M Gaming Wifi 6 because it was cheap, had 4 SATA ports, and decent IO. I mean, it's not the most exciting motherboard out there, but it gets the job done.
In my limited experience, the key is to find a motherboard that balances features with affordability. I really wanted something with 8 SATA ports but the price jumped a lot, and most of those were AM5 level, which I didn't want to jump to either. And, let's be real, the 2 PCIe slots are always a bonus - even if we don't need them now, we might in the future. It's like having a Get Out of Jail Free card for our home lab. In order to take full advantage of all the drive bays, I ended up getting an expansion card for a PCIe slot to connect additional SATA cables. It was maybe $30 on eBay instead of the AM5 mobo with 8 SATA ports that was $200 more. So definitely the budget friendly approach.
Key Supporting Hardware: CPU, RAM, PSU, and Cooling
Now that we have our case and motherboard, it's time to think about the key supporting hardware. I mean, this is where the magic happens - or, you know, where we realize we've made a huge mistake and have to start over. Again. For my NAS, I chose a Ryzen 5600G because it was affordable and had integrated graphics. It's possible to squeeze a low-profile GPU in this case, but the low-profile GPU options out there aren't great, and most of the ones you find don't actually support AI use-cases well anyway. When I do need to connect a monitor, the onboard HDMI works just fine, I just use a cheap portable monitor that I have for Raspberry Pi projects and whatnot.
For RAM, I went with 16GB of DIMM RAM because, why not? I mean, it's not like we're building a high-performance computing cluster or anything. Although, if we were, that would be pretty cool. For the power supply, I chose a 550W Cooler Master microATX power supply because it was cheap and had good reviews. Really it just came down to a good modular option that was the right form factor.
For cooling, I used a low-profile Noctua NH-L9a cooler because the case is so small. I mean, it's like trying to put a sumo wrestler in a smart car - it's just not gonna happen. The NH-L9a is like the ninja of coolers - it's small, stealthy, and gets the job done.
AI Support: GPU or NPU?
Now, if you need AI support for local image gen or OpenClaw, then things get a bit more complicated. I mean, do we need a dedicated GPU or can we get away with a CPU with NPU support? It's like choosing between a Porsche 911 and a Tesla - both have their pros and cons. For my NAS, I went with the Ryzen 5600G because it had integrated graphics and was affordable. I mean, who needs a dedicated GPU when we have integrated graphics, right? I've been finding that this machine doesn't have the excess RAM to support local LLMs anyway, but I'll go into that a bit more in other posts.
In conclusion, building a home lab NAS is a journey, not a destination. I mean, it's like trying to fold a protein - it's complicated, frustrating, and sometimes, it just doesn't work out. But, with the right hardware and a bit of patience, we can create something truly amazing. So, if you're thinking of building a home lab NAS, I say go for it. Just don't say I didn't warn you. And, if you do happen to build one, be sure to check out some of the great FreeBSD and OpenMediaVault resources out there - they're like the Bible for NAS builders.
Stay tuned for the next post in this series, where we'll dive into the actual building process and explore some of the software options available for our home lab NAS builds.